
Starting a BSF farm from scratch costs a lot and wastes money fast. Pick the wrong trays or climate setup, and your larvae die off. I'll show you the right way.
You start black soldier fly farming in a shipping container by setting up insulation, climate control, breeding trays, and feedstock handling inside one modular unit. Then you confirm permits, biosecurity, and stable production results before you scale up to more units.
Most guides stop at "buy a container and add air conditioning." That advice skips the parts that actually decide if your farm works. I'll walk through permits, site needs, climate control, trays, costs, and daily operations, one step at a time.
Why Use a Shipping Container for BSF Farming?
Building a full insect farm building costs a lot upfront. Many new operators can't justify that risk before they know their system actually works.
A shipping container works for BSF farming because it gives you a sealed, standardized space to control insulation, airflow, and temperature. This lets you test your production method on one module before you invest in a full facility or add more units.
Lower Upfront Risk
Traditional BSF farming usually depends on a dedicated building, greenhouse, or converted structure. These methods also reach commercial scale, but building a full facility on day one means a bigger upfront investment for a new operator.
Standardized Environment
A container lets me put insulation, ventilation, humidity control, and rearing equipment into one contained space. I can validate the production results from one module, then decide if I add a second unit.
Limits for Large-Scale Automation
|
Factor |
Shipping Container |
Traditional Building |
|---|---|---|
|
Upfront cost |
Lower, phased |
Higher, all at once |
|
Environment control |
Easier to isolate |
Harder to isolate |
|
Scaling method |
Add units gradually |
Build out all at once |
|
Large equipment fit |
Limited by width |
More flexible |
What Permits, Zoning & Regulatory Requirements Do You Need for a Container BSF Farm?
Buying equipment before checking permits is a costly mistake. Many operators find out too late that their site or feedstock isn't actually allowed.
A container BSF farm typically needs zoning approval for insect or agricultural use, environmental or waste-handling permits tied to feedstock source, and compliance with feed material rules that restrict which byproducts you can use. Each of these can involve a different regulatory body.
Local Zoning & Agricultural Use Classification
I always check first if insect farming is allowed on the project site. A container can move, but that doesn't mean long-term placement skips building approval or land use permits. If the site also handles organic waste, local authorities may classify it as environmental or industrial activity, not plain agriculture.
Environmental & Waste-Handling Permits
This mostly depends on feedstock source and processing scale. A project using compliant food processing byproducts faces different requirements than one accepting mixed municipal organic waste. I watch feedstock storage, odor, leachate, wastewater discharge, and residue handling closely.
Food Safety / Feed Material Regulations
This is the most critical check. EU rules on insects used for feed production set limits on what substrate you can use, and they restrict materials like animal manure or catering waste. Singapore's food agency requires local animal feed producers to hold a license, and insect feed producers need HACCP or a food safety management plan, with controlled raw material sourcing and hygiene. BSF larvae eating a material doesn't mean that material is approved for commercial insect feed production. I always confirm target market feed rules before buying equipment, not after.
|
Permit Type |
Governing Body |
What It Covers |
|---|---|---|
|
Zoning / land use |
Local planning authority |
Where insect farming is allowed |
|
Environmental / waste |
Environmental agency |
Feedstock storage, odor, wastewater |
|
Feed material compliance |
Food/feed safety authority |
Allowed substrates, HACCP, licensing |
What Site Requirements & Utilities Does a Container BSF Farm Need?
A container looks simple to drop onto any site. But the wrong foundation or power setup can break your production fast.
A container BSF farm needs a foundation rated for wet substrate and tray loads, enough electrical capacity for climate control, reliable water and drainage for cleaning, and enough outside space for loading, harvesting, and maintenance. Skip any one of these and daily operations get difficult.
Ground Foundation
A standard 20ft container runs about 6.06 meters long, a 40ft container about 12.19 meters, both around 2.44 meters wide. But insulation, racks, and ventilation equipment take up real interior space, so usable space is smaller than the outer dimensions suggest. I never design a foundation around an empty container's weight. Wet substrate, larvae, trays, and equipment add real load, and multi-tier racks concentrate that weight in specific spots.
Electrical Supply
I calculate power draw from air conditioning, fans, dehumidifiers, control systems, and any automated equipment. For high-density systems, I also plan for power outage protection, because a long outage can raise container temperature fast and hurt larvae growth.
Water & Drainage
BSF rearing needs controlled substrate moisture, but that doesn't mean a wetter room is better. I watch floor washing, standing water, substrate leachate, and wastewater collection closely. I also plan for outside operating space, since feedstock intake, tray handling, harvest, and residue transport all need room around the container, not just inside it.
|
Utility |
What I Check |
Why It Matters |
|---|---|---|
|
Foundation |
Loaded weight, not empty weight |
Prevents structural failure |
|
Electrical |
Peak load plus outage backup |
Keeps temperature stable |
|
Water/drainage |
Leachate, wastewater, floor cleaning |
Prevents odor and contamination |
|
Outside space |
Loading, harvest, maintenance room |
Keeps daily work manageable |
What Are the Critical Climate Control Parameters for BSF Farming?
Many operators think air conditioning at 28°C is enough for BSF larvae. That assumption misses the real heat problem happening inside each tray.
The critical climate control parameters for BSF farming go beyond room temperature, because larvae generate their own metabolic heat. This raises substrate temperature well above air temperature, so container systems need airflow design that reaches every tray layer, not just one thermostat.
The Metabolic Heat Trap
A 2023 study found that under certain test conditions, BSF larvae activity raised substrate temperature at least 10°C above the surrounding air. The study also showed larvae density, air temperature, and feeding amount all affect growth performance together. This means a container stacked with many trays can show 28°C on the thermostat while some trays run much hotter inside. I treat this as a core design problem for any high-density system, not a minor detail.
Humidity & Ventilation Design
I manage air relative humidity and substrate moisture content as two separate things. Comfortable room humidity doesn't mean every tray's substrate moisture is right for the larvae. Substrate too wet causes pooling and low oxygen. Substrate too dry reduces feeding. A mature container system shouldn't rely on one sensor and a few exhaust fans. It needs monitoring at different points inside the space, with adjustments based on real load, not a fixed setting.
|
Parameter |
Common Mistake |
Better Approach |
|---|---|---|
|
Room air temp |
Treated as the only metric |
Track substrate temp separately |
|
Larvae density |
Ignored in climate planning |
Factor into airflow design |
|
Room humidity |
Assumed to match tray moisture |
Monitor tray substrate moisture directly |
|
Sensor count |
One sensor for whole container |
Multiple points across tray layers |
How Should You Configure the Interior Layout of a BSF Container?
You configure a BSF container's interior layout by choosing between two main setups: a larvae-only bioconversion configuration, or a full life-cycle setup that includes adult breeding. Then you select stackable trays that balance tray count against airflow space.
Configuration A - Maximal Bioconversion (Larvae Rearing)
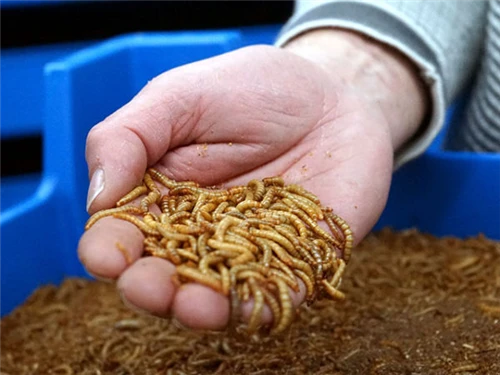
This setup focuses on larvae growth using compliant organic material, converting it into larvae biomass. I allocate most space to trays, racks, and necessary operating aisles. But I never compress ventilation spacing just to fit more trays. A 2025 study on modular BSF bioconversion equipment found that well-designed stackable plastic trays help air move sideways between layers while still using space efficiently. This configuration suits operators who already have an egg supply and mainly want to scale up larvae output.
Configuration B - Full-Cycle Breeding Area
If you want to breed your own BSF, you need space for adult mating, egg laying, hatching, and early larvae care. I never place adult breeding cages right next to larvae rearing racks, because each stage needs different light, environment, and handling. For small trials, one container can hold separate zones. For steady, continuous production, I prefer separate modules for adult breeding and larvae rearing, since that allows independent environment control and less interference between stages.
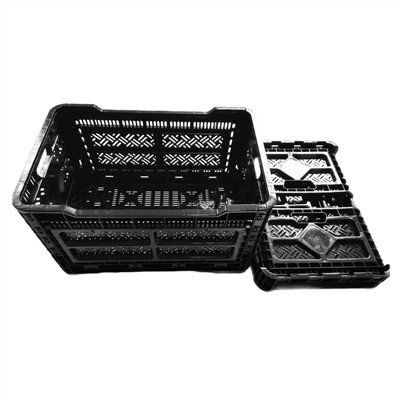
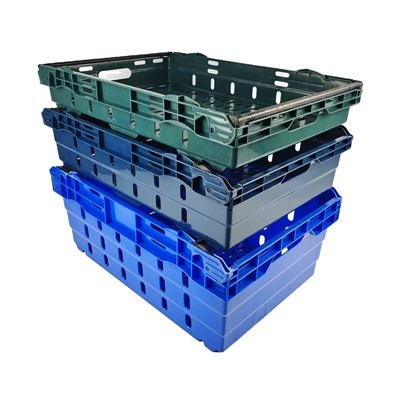
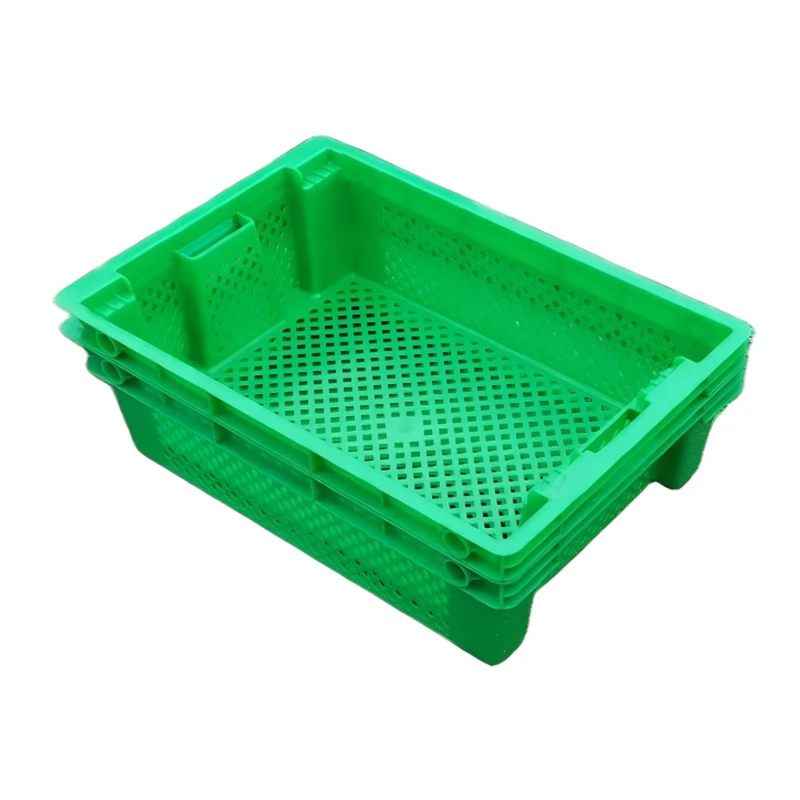
Choosing Stackable Breeding Trays for Your Container Setup
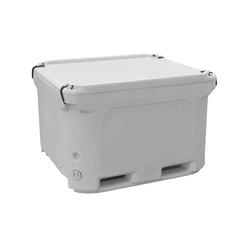
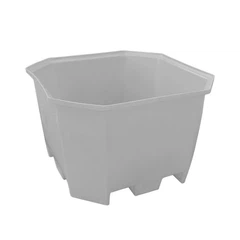
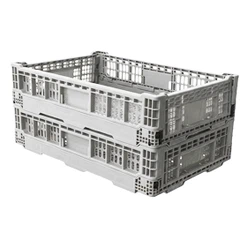
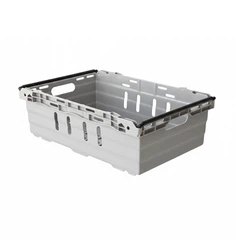
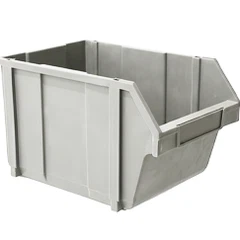
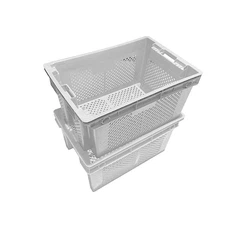
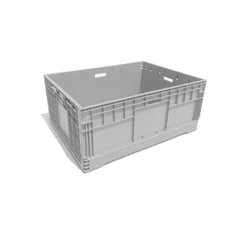
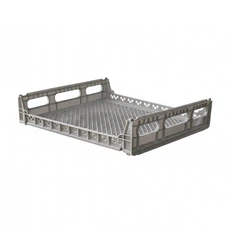
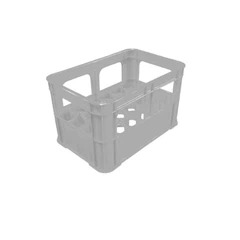
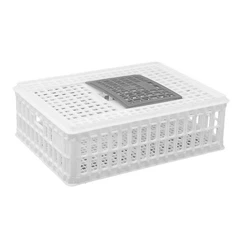
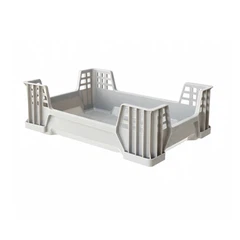
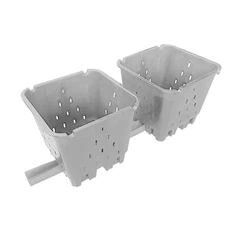
This is the decision I think matters most in the whole system. Tray choice decides how many larvae you can hold, and it also shapes ventilation, heat loss, cleaning, labor, and whether automation works later. Plenty of generic plastic crates exist on the market, but I don't treat every crate as fit for BSF rearing.
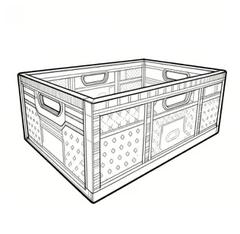
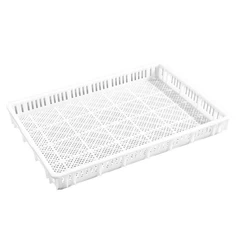
Bottom structure matters first. I lean toward flat, smooth, solid-bottom trays that clean easily. Larvae live in moist substrate, so a tray with a large open-mesh bottom, built for general storage, risks material leakage and makes cleaning harder.
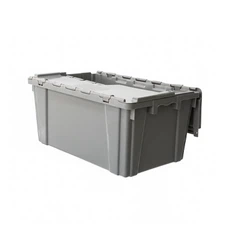
Stacking structure matters next. Stackability is important for a container, but stacking ability and airflow must work together. If stacked trays leave almost no air gap, heat builds up fast. I favor trays with open corner posts or dedicated ventilation channels, so air keeps moving between layers.
Material choice usually lands on PP (polypropylene). PP works well for molding, weight, moisture resistance, and daily cleaning. But whether a specific PP grade handles hot washing or food and feed contact depends on the material grade and test documentation, not just the label "PP."
Size and height need the same care. 600×400mm is a common footprint in the market, and some suppliers offer 800×600mm or larger trays. A tray's outer height is not the same as usable substrate depth. I wouldn't fill a 190mm-tall tray to the top just because the tray allows it. Real substrate thickness depends on larvae density, heat dissipation, feedstock moisture, and rearing cycle.
|
Tray Size (Outer) |
What I Notice |
Best Fit |
|---|---|---|
|
600×400×145mm |
Shallow, easy to carry and inspect |
Small to mid-size, modular systems |
|
600×400×190mm |
More volume, still needs depth control |
Commercial larvae rearing |
|
800×600×190mm |
Larger footprint, heavier per tray |
Mid to large systems |
|
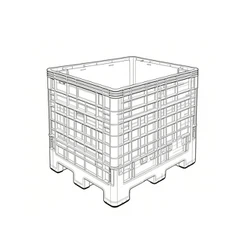
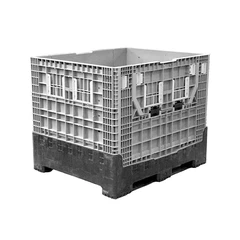
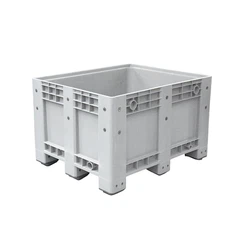
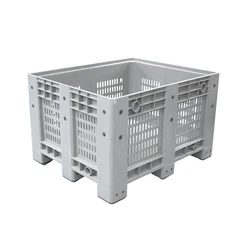
1100×1100×350mm |
Large bin, needs mechanical handling |
Special large-scale projects |
Load rating varies a lot between suppliers too. I've seen a 600×400×145mm PP tray listed at 0.86kg empty weight with a 15kg max load, while another 600×400 series tray lists a 25kg load rating. This tells me structural differences between products can be significant. I always confirm how the load rating was tested, whether it's static fill, manual carrying, or multi-layer stacking, before I treat a number as a safe stacking limit.
Pricing also varies by quantity. Public B2B listings show one 600×400 PP tray priced around $4.80 at 500-999 units, dropping to $3.00 at 1,000-4,999 units, and $2.00 at 5,000+ units. A different 600×400×190mm tray shows $4.30 at low quantity, $3.99 at mid volume, and $3.38 at 30,000+ units. These numbers aren't directly comparable across suppliers, since weight, material grade, and delivery terms differ. I'd compare quotes only for the same size, weight, and use case.
If I pick trays for a container system, I weigh four things: ventilation and heat performance, stacking stability, ease of cleaning, and long-term cost. A cheap unit price doesn't always mean low total cost, because trays get handled, filled, and washed every day. A tray that warps, cracks, or resists cleaning can cost more in replacement and labor than it saved at purchase.
How Do You Handle Biosecurity & Escape Prevention?
One cracked tray edge or loose door seal can let larvae or adults escape. That's a problem you don't want to explain to local regulators.
You handle biosecurity and escape prevention in a BSF container by securing tray edges, drains, door seals, and harvest equipment for larvae-only setups. For setups with adult breeding cages, you also add insect screens on vents and buffer entry points for staff.
Two Directions of Biosecurity
I split biosecurity into two goals: keeping farmed insects inside, and keeping outside contamination out. For a larvae-only container, I check tray damage, transfer points, floor drains, and collection bins. For adult breeding, I also check cage mesh, ventilation screens, and door access.
Incoming feedstock needs a separate receiving area. I keep delivery containers and dirty tools away from clean trays, eggs, and newly hatched larvae. Farm biosecurity guidance also recommends cleaning shared equipment and protecting feed during delivery, storage, and handling.
Escape Prevention During Daily Handling
I inspect containment during feeding, tray movement, and harvesting. Mature larvae naturally move away from their feeding substrate to find a pupation site, so collection areas need particular attention. Purdue's guide uses this behavior to support self-harvesting through collection ramps.
Smooth tray walls can help, but I never rely on wall height alone. I keep substrate below the rim, remove buildup around edges, and check any openings against the smallest life stage present. Drain screens and collection points must remain accessible for cleaning, since blocked drainage creates another operating problem.
Cleaning and Batch Separation
I give each batch an identification number and record its feedstock source, stocking date, and tray location. This makes unusual mortality, odor, or poor growth easier to trace.
After harvesting, I remove residue before washing trays. Any disinfectant must suit the tray material and the farm's hygiene procedure, including its concentration, contact time, and rinsing requirements. Clean trays then move to a separate storage area before reuse.
|
Control Point |
Practical Check |
Purpose |
|
Trays and collection bins |
Cracks, damaged rims, substrate near edges |
Reduce escape routes |
|
Doors and ventilation |
Seals, screens, cage closures |
Maintain containment |
|
Drains |
Screen condition and free flow |
Control escape and liquid buildup |
|
Incoming materials |
Source records and receiving area |
Support traceability |
|
Shared tools |
Cleaning procedure and assigned storage |
Reduce contamination between batches |
How Much Does a Container BSF Farm Cost?
The container purchase is only one part of the investment. Conversion, climate control, site preparation, and daily labor can change the budget substantially.
I build the budget around a working production system: installed equipment, operating costs, and enough cash for the trial period. A useful estimate needs a defined feedstock, production target, local climate, and harvesting method.
Initial Setup Costs
I request separate quotes for the container, conversion work, and production equipment. This makes exclusions easier to spot. A low equipment quote may leave out electrical installation, drainage, delivery, or commissioning.
|
Cost Group |
What to Include |
|
Container and delivery |
Condition inspection, transport, unloading |
|
Site preparation |
Foundation, access, utility connections |
|
Interior conversion |
Insulation, washable surfaces, doors, drainage |
|
Climate control |
Cooling, heating if needed, ventilation, moisture control |
|
Rearing equipment |
Trays, racks, breeding equipment if required |
|
Feedstock and harvesting |
Receiving bins, preparation tools, separation equipment |
|
Monitoring |
Sensors, alarms, data recording |
|
Startup |
Approvals, training, trial batches, spare equipment |
Daily Operating Costs
I track electricity, labor, feedstock transport, eggs or young larvae, cleaning, maintenance, and residue handling. Free feedstock can still carry collection, sorting, storage, and preparation costs.
I also define the product before calculating production cost. Fresh larvae, dried larvae, and processed meal have different moisture levels and processing needs. Comparing them by selling price per kilogram alone gives a misleading result.
Calculate Cost From Saleable Output
A practical starting point is:
Operating cost per kilogram = Total operating costs for the period ÷ Saleable larvae output for the same period
I include failed batches and rejected output in the records. For a full business assessment, I also account for equipment depreciation, financing, and confirmed revenue from other products. I avoid assuming income from residue until its quality, permitted use, and buyers are established.
What Daily Operations Keep Production Stable?
A container needs a repeatable routine. Small changes in feeding, tray loading, or cleaning can make batch results difficult to compare.
My daily routine follows the material flow: inspect incoming feedstock, prepare and weigh each batch, check tray conditions, record growth, and harvest on schedule. I use those records to adjust the next batch.
Feedstock Preparation and Feeding
I record each delivery's source, weight, and condition. I remove packaging and foreign objects, then prepare the material to a consistent texture for the chosen feeding system.
Feed quantity follows larvae age, consumption, and remaining substrate. Purdue's guide recommends monitoring consumption and avoiding overfeeding to reduce odor and unwanted colonization.
Tray Checks and Climate Monitoring
I check representative trays at different heights and positions. The inspection covers substrate temperature, moisture, uneaten feed, pooling, and unusual mortality.
I also record room conditions and equipment performance. If a batch performs poorly, these records help separate a feedstock problem from uneven airflow, an equipment fault, or a change in stocking density.
Harvesting and Production Records
I weigh feed input, harvested larvae, and remaining residue using consistent methods. For output comparisons, I keep the draining or drying procedure consistent too.
|
Frequency |
Main Tasks |
|
Each delivery |
Record source, weight, condition, and rejected material |
|
Each feeding |
Record feed amount and remaining substrate |
|
Daily |
Check trays, climate readings, drainage, and equipment |
|
Each harvest |
Record batch age, larvae yield, residue, and labor time |
|
Between batches |
Clean, inspect, and prepare trays for reuse |
When Should You Add Another Container?
One successful harvest does not establish reliable capacity. I want repeatable results across several batches before committing to another unit.
I expand after the pilot demonstrates stable output, manageable labor, controlled running costs, and a dependable feedstock supply. I also confirm demand for the finished product.
Validate Under Normal Operating Loads
I increase loading gradually and measure the results at each stage. This gives me a chance to identify hot trays, difficult handling, or slow harvesting before the system reaches its planned capacity.
Empty-room climate tests are useful during commissioning, but loaded production trials provide the evidence needed for expansion. Research on farmed insects highlights the limits of applying small laboratory results directly to mass production.
Find the Actual Bottleneck
Before adding trays or another container, I check feed preparation, washing, harvesting, storage, and staffing. Extra rearing space creates little value if the team cannot process the output on time.
I also review tray handling. Filled weight, access to upper layers, cleaning time, and replacement rate all affect the practical capacity of the system.
Conclusion
Starting black soldier fly farming in a shipping container requires a clear production plan. Confirm the site and feedstock requirements first, then design climate control, tray layout, containment, and daily handling around the planned load.
Use the first container to measure yield, energy use, labor, and cleaning time across repeated batches. Those results provide a stronger basis for expansion and help you choose equipment with a clear purpose.
Plan Your Trays Before Finalizing the Layout
Tray dimensions affect rack spacing, airflow, filled weight, and daily handling. Comparing samples early gives you time to check fit and cleaning access before committing to a full order.
Explore our plastic insect rearing trays, or contact our team with your container layout, preferred tray size, expected filled weight, and order quantity. We can help you compare tray options and prepare a quotation for your project.
Frequently Asked Questions
Q: Can I start BSF farming in a 20ft shipping container?
A: Yes, a 20ft container can support a pilot setup. Plan capacity around usable interior space, airflow, working access, and loaded tray weight.
Q: Do I need adult breeding cages inside the container?
A: No, a larvae-only system can use eggs or young larvae from an external supplier. Breeding your own stock requires dedicated space and separate management for adults, eggs, and hatchlings.
Q: What trays should I use for container BSF farming?
A: Choose trays with a suitable solid bottom, stable stacking, cleaning access, and enough airflow space between layers. Confirm material suitability and load limits for your actual handling method.
Q: How much feedstock can one container process daily?
A: Capacity depends on feedstock composition, moisture, larvae density, rearing cycle, and heat removal. Establish a reliable daily figure through loaded trials with your intended feedstock.
Q: Should I test tray samples before ordering in bulk?
A: Yes, test samples with your substrate, racks, and cleaning procedure. Check filled weight, stacking stability, access, and airflow before confirming the order.